


U4GM Tips for the COD MW4 Reactive Armor Extract
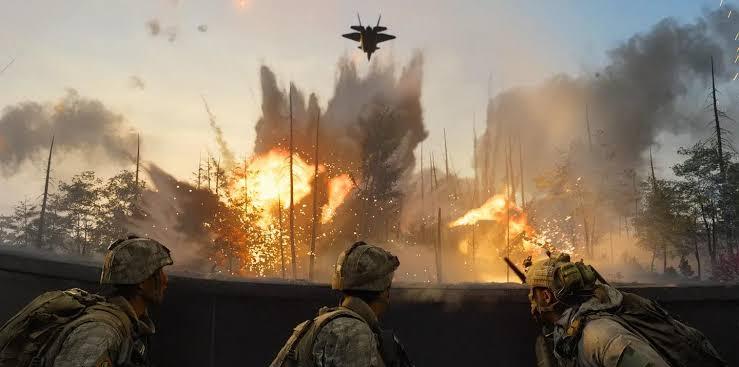
Battle Tank looks straightforward until you realise the difficult part usually comes after the vehicle is down. The job is not simply to destroy a tank. You need to collect the Reactive Armor Fragments and leave with them. Before loading in, read the briefing closely and check whether the item must be extracted during the same deployment. A quick look at MW4 Bot Lobbies can help you think through safer practice runs, but the live operation still comes down to preparation, timing, and a clean exit.
Build Around the Vehicle Fight
Do not arrive with four close-range loadouts and hope the tank eventually breaks. One squad member should carry a launcher or another reliable anti-vehicle weapon, while the others bring rifles, plates, and equipment for keeping pressure off that player. Split your approach before the first shot. One operator can draw the turret while another works from the side or rear. Standing shoulder to shoulder behind one piece of cover is asking for trouble. You will all get hit together.
Carry spare plates and leave one backpack slot open.
Choose the fragment carrier before the fight starts.
Agree on an extraction point before engaging.
Use short callouts for turret direction and enemy movement.
Win the Fight, Then Slow Down
Once the tank is destroyed, the pace should change. Pick up the fragments quickly, plate the carrier, and stop chasing nearby loot. Players often throw away a completed objective because they stay for another contract or wander into a fight they do not need. The carrier should take the safest route available, not the route with the best-looking boxes. If your backpack is full, the pickup can become a messy inventory shuffle while other teams close in, so make room before the engagement begins.
Make the Exit Part of the Plan
The nearest extraction point is rarely the best one after a loud vehicle fight. Gunfire attracts attention, and other squads may already be watching the obvious route. Check the map after the tank falls and move towards a quieter option if the distance is manageable. If the closest point is active or under pressure, rotate early. Do not wait beside the flare while arguing over the decision. In a solo run or a duo, avoid every fight that does not directly protect the carrier. Space, cover, and patience matter more than another elimination.
Reset Instead of Forcing It
If the squad runs low on plates or loses the angle, pull back. Restock, change position, and try again only when the team can control the fight. A failed attempt is useful when you note where the tank was, which extraction point became unsafe, and whether the carrier had enough protection. If the tracker fails to update after a clean departure, keep a record of the inventory and results screen, then test the objective from a fresh deployment. Once the fragments have counted and the reward is secured, extra raids should be optional; players looking for more careful route ideas can compare approaches through Bot Lobbies MW4 without turning one successful run into an unnecessary gamble.

 English
 Arabic
 Spanish
 Portuguese
 Deutsch
 Turkish
 Dutch
 Italiano
 Russian
 Romaian
 Portuguese (Brazil)
 Greek