

How to Install an Infant Car Seat Base Simply and Securely
Introduction
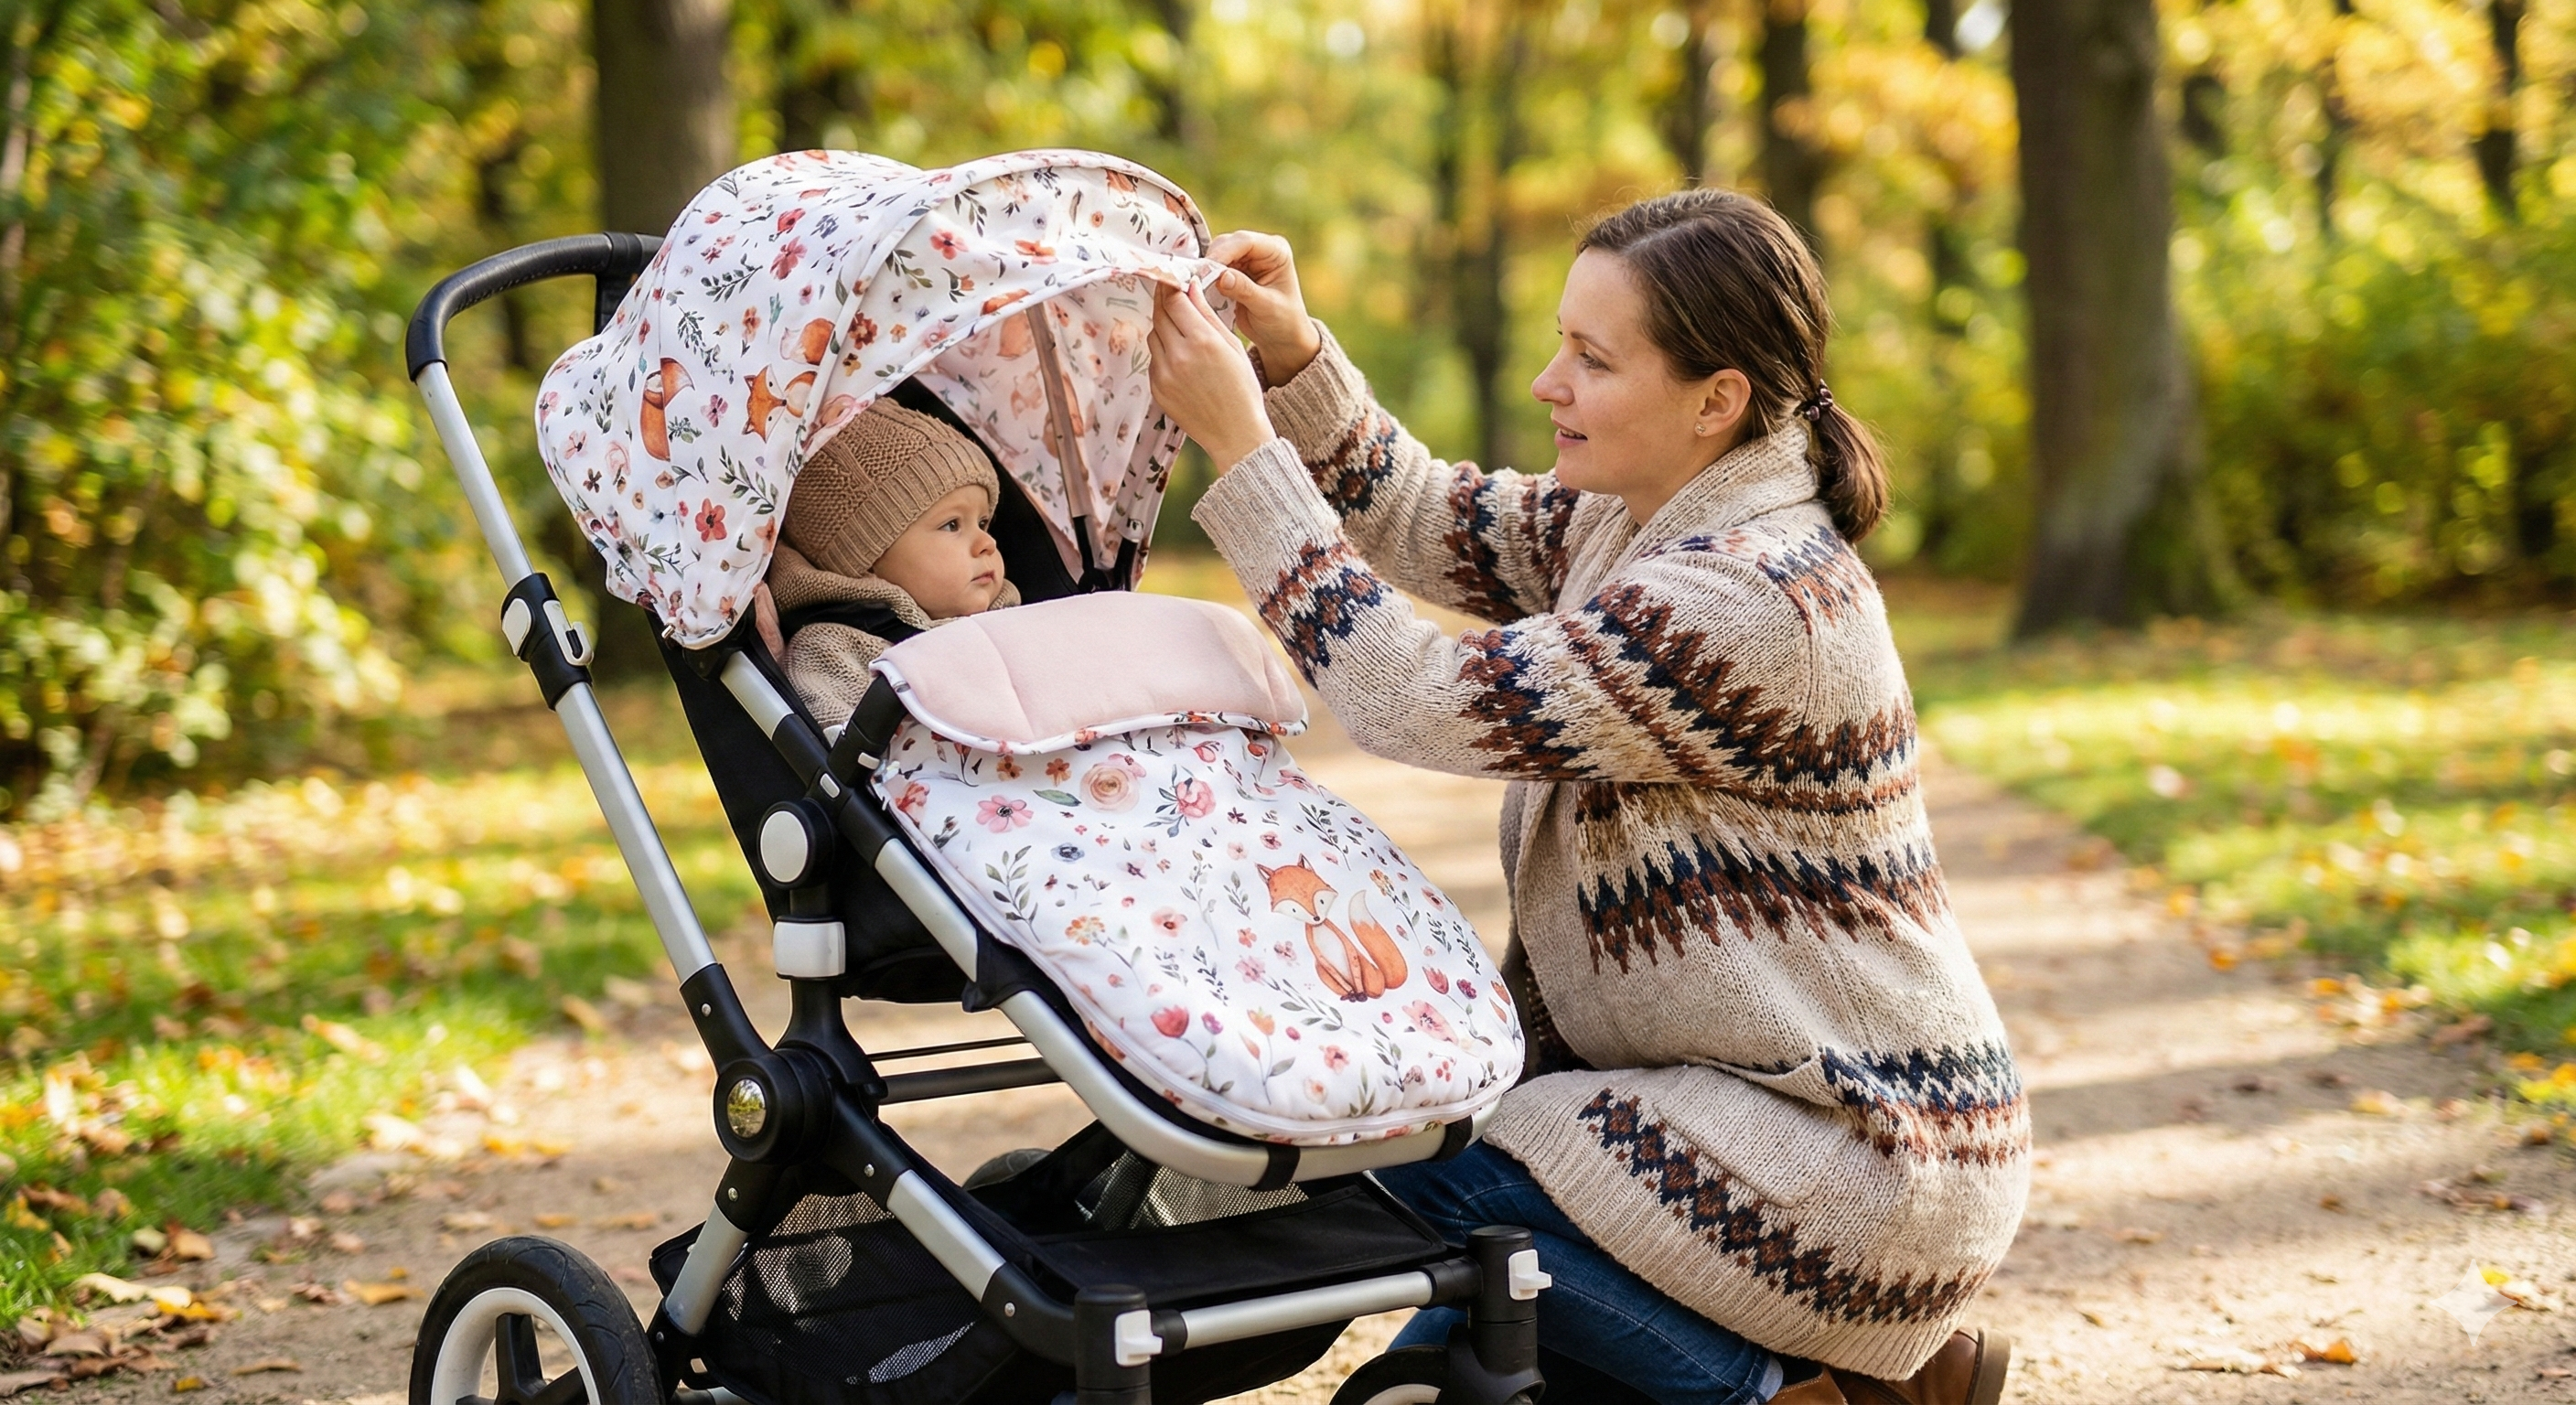
Bringing your newborn home is one of the most memorable days of your life. There is so much excitement as you walk out of the hospital doors and into the fresh air with your little bundle of joy. It is a moment filled with pride and happiness but it can also bring a sudden wave of nervousness. You suddenly realise that you are responsible for getting this tiny human home safely. Ensuring their safety in the car becomes your absolute top priority before you even turn the key in the ignition.
The journey begins with the car seat. While the seat itself cradles your baby the base is the foundation that holds everything securely in place. Installing an infant car seat base properly is the first and most critical step toward safe travel. It might look like a simple piece of plastic but it is an expertly engineered safety device. Getting the installation right means you can drive with confidence knowing your baby is protected.
This guide is here to help you navigate the process without stress. We will walk you through everything step by step so that you can master the installation. Whether you are a first time parent or just need a refresher this article covers The Best Way to Install Infant Car Seat Base for New Parents so you can focus on the road ahead.
Why Correct Installation Matters
It is a scary thought but car crashes remain a leading cause of injury for infants. The forces involved in a vehicle collision are immense and a newborn body is incredibly fragile. A correctly installed car seat base dramatically reduces risk and ensures your baby remains secure every time you travel. The base absorbs energy and keeps the carrier in the right position to protect the head and spine of your child.
Unfortunately many parents install the base incorrectly without even realizing it. It is not because they are careless but because the process can be surprisingly technical. A loose belt or an incorrect angle can compromise the effectiveness of the seat. Understanding the mechanics of the installation helps you avoid those common pitfalls. When you know the base is solid you gain peace of mind. That peace of mind allows you to focus on driving carefully rather than constantly checking the rear view mirror in a panic.
Step 1 Read the Manual First
We know that reading instruction manuals is not the most exciting way to spend an afternoon. You might be tempted to skip it and figure things out as you go but that is a mistake. The manual is your roadmap to safety. Every car seat is different and every vehicle is unique. You need to read both your car seat manual and your vehicle owner manual before you start.
Your vehicle manual will tell you where the LATCH anchors are located and how the seat belts lock. The car seat manual will explain exactly how to thread the belt or attach the clips. Look for specific details about where the seat should be installed. Usually the safest spot is the back seat in the middle position if possible. This keeps the baby as far away from side impact zones as possible. Taking ten minutes to read these documents can save you an hour of frustration later.
Step 2 Place the Base in the Back Seat
Once you have done your reading it is time to head out to the car. Take the car seat base and position it in the back seat of your vehicle. You must never place a rear facing car seat in the front seat of a car equipped with active airbags. The back seat is the only safe zone for an infant.
Place the base flat on the vehicle seat. Make sure it is facing the correct direction. For infants this is always rear facing. The baby should be looking out the back window. Ensure the base sits fully on the seat cushion. You might be tempted to add accessories to keep your car tidy but you must be careful. For instance a thick custom car seat cover under the base might prevent a tight fit so always check if the manufacturer allows anything between the base and the vehicle seat. If the base hangs over the edge of the seat too much you may need to move it to a different seating position.
Step 3 Attach the Base Using the LATCH System or Seat Belt
Now comes the most important part which is securing the base to the car. You generally have two options for this. You can use the LATCH system or the vehicle seat belt. You should choose the method that gives you the tightest fit in your specific car. Do not use both methods at the same time unless your manual specifically says it is allowed.
Using LATCH Lower Anchors and Tethers for Children
The LATCH system is designed to make installation easier without using seat belts. Look for the U shaped metal anchors located in the crack between the seat back and the seat cushion. Connect the hooks from the base to these lower anchors. You should hear a click or feel them engage.
Once they are connected you need to tighten the strap. This requires a bit of effort. Press down firmly on the base with your hand or knee to compress the vehicle cushion. While pressing down pull the LATCH strap as tight as you can. The goal is to remove all the slack.
Using a Seat Belt
If you prefer using the seat belt or if your car does not have LATCH in the middle seat this method is just as safe. Thread the vehicle seat belt through the belt path on the base. The manual will show you exactly where the belt goes. Make sure the belt is not twisted.
Buckle the seat belt until it clicks. Then you need to lock the belt. In most modern cars you can pull the seat belt all the way out until it stops and then slowly let it retract. You will hear a ratcheting sound which means it is in locking mode. Press firmly on the base while pulling the shoulder belt tight to remove slack. The base needs to be pressed deep into the cushion to stay secure.
Step 4 Check the Angle Indicator
Newborns do not have the neck strength to hold their heads up. If the car seat is too upright their head can fall forward which might restrict their airway. If it is too reclined they might not be protected in a crash. This is why the angle is critical.
Most bases include a built in level or angle indicator. It might be a bubble level like a carpenter tool or a line that must be parallel to the ground. Check this indicator once the base is tight. If the angle is wrong you can usually adjust the recline foot on the base. Adjust the foot until the bubble is in the correct zone. This ensures your baby is lying at the correct angle to keep their airway open and safe.
Step 5 Test for Security
You might think you are done but you need to verify your work. This is called the inch test. Grab the base at the belt path where the LATCH strap or seat belt goes through. Give it a firm push and pull from side to side and from front to back.
The base should not move more than one inch in any direction. It should feel like it is part of the car. If it slides around or lifts up you need to tighten it more. Put more weight into the base and pull the strap harder. Double check that both sides are secured properly. If you cannot get it tight enough in that seating position you might need to try a different spot in the back seat.
Step 6 Attach the Infant Car Seat
Once the base is rock solid you are ready for the carrier. Place the infant car seat onto the base. You should hear a loud audible click. This sound confirms that the locking mechanism has engaged.
Do not just trust the sound though. Give the handle a gentle tug upward to make sure it is attached securely. The seat should not lift off the base. Check the handle position as well. Some manufacturers require the handle to be down while driving while others allow it to be up. Check your manual to be sure. Now your baby is ready to ride.
Common Mistakes to Avoid
Even careful parents can make simple errors. Being aware of these common mistakes will help you avoid them.
The most dangerous mistake is installing the seat in the front seat. Airbags deploy with explosive force that can severely injure a baby. Always keep them in the back. Another common issue is not tightening the base enough. If the base wobbles the baby will wobble in a crash. Do not be afraid to put your weight into it when tightening.
Ignoring the angle indicator is another frequent oversight. A newborn needs that recline to breathe safely. Lastly avoid using both the seat belt and LATCH system at the same time. You might think two is better than one but it can actually put too much stress on the base or the vehicle anchors. Stick to one method unless told otherwise.
Final Tips for New Parents
You are almost a pro now but here are a few final tips to keep you on track. Always register your car seat with the manufacturer. You can usually do this online. This ensures you will be notified immediately in case of safety recalls.
If you are still unsure about your installation have it checked by a professional. Many hospitals and fire stations have certified Child Passenger Safety Technicians who can inspect your work for free. It is a great way to get expert reassurance. Finally remember to recheck the installation regularly. Seat belts can loosen over time and LATCH straps can shift. Give the base a quick wiggle test every now and then to ensure it hasn't loosened over time.
Conclusion
Learning how to install an infant car seat base correctly takes a little time but it is one of the most important steps you can take for your baby. It is the foundation of their safety whenever you leave the house. By following this step by step guide you will be ready for worry free travel every time you hit the road. You can enjoy those first drives with your newborn knowing you have done everything right to keep them safe and sound.
Frequently Asked Questions
Is it safer to use the LATCH system or the seat belt?
Both methods are equally safe when they are installed correctly so use the one that gives the tightest fit in your car.
Can I place the car seat base in the front seat?
You must never place a rear facing car seat in the front seat because active airbags can cause serious injury to a child.
How tight should the car seat base be installed?
The base should not move more than one inch side to side or front to back when you test it at the belt path.
What should I do if the base is not level?
Adjust the recline foot on the base until the angle indicator shows the correct position for your newborn.
Do I need to check the base every time I drive?
You should give the base a quick test regularly to ensure it has not loosened over time or been bumped out of place.